We’re screaming because it is a party and every party needs a little noise. We’re screaming because summer is coming to an end. We’re screaming for ice cream and we’ll continue enjoying it year-round to remember all those great summer days.

This is the perfect dessert for your Labor Day BBQ because it is so quick and easy to prepare so you can focus on the rest of the meal too. A slice of this cake is also a stroll down summer’s memory lane. All you need is a loaf pan, a few of pints of ice cream, some heavy duty plastic wrap or waxed paper, some chocolate wafers, graham crackers or waffle cones, and a few of your favourite summer fruits and treats.


This summer, we stopped at the Ben & Jerry’s Factory for a factory tour, which was a blast. After the tour, we sampled their Strawberry Cheesecake ice cream. To make this cake extra special, take home a pint from your favourite summer scoop shop or buy everyone’s favourite flavor (mine is mint chocolate chip usually) and get started.

Screaming Labor Day Ice Cream Cake
Ingredients
- 3-4 pints of at least two flavours of your favourit ice cream
- 24 chocolate wafers, or 8 waffle or sugar cones, or graham crackers, 1 cup crumbs
- 1 cup of frozen raspberries (or other fruit that goes with your flavours), optional
- 1 cup of your favourite summer treats: sprinkles, malt balls, chocolate chips, mini marshmallows (most candies such as taffy and gummy bears will not do well in ice cream as their texture changes too much)
- 1-2 cups of frozen whipped topping such as Cool Whip
Directions
- Let the whipped topping sit on the counter so it can thaw slightly. Take the ice cream out of the freezer and let it soften quite a lot. The ice cream should be the consistency of thick buttercream which will make it easier to spread.
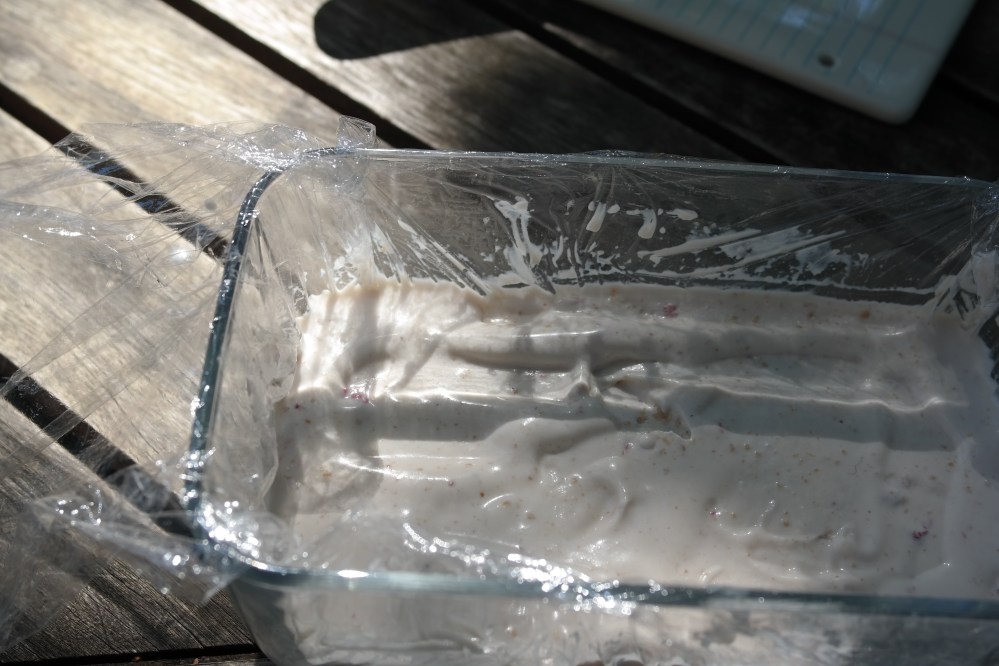
- Line your loaf pan with a heavy duty plastic wrap or wax paper. This will make it easier to unmold your ice cream cake later.
- The frozen whipped topping acts like the icing on your cake. You can either have it as the top layer (so you put it down 1st) or you can put it in the middle of your ice cream cake. You can also have cookie or cone crumbs as a top layer (see #5 below for directions). If so, put down a thin layer of crumbs in your lined pan before you start.
- Then, either put 1/2 inch or so of your whipped topping into the bottom of the lined pan or put your 1st layer of ice cream down. You will most likely use a full pint for this first layer that should be about 1 1/2 to 2 inches thick. You will need to figure out about how much of each ice cream you need depending how deep your loaf pan is and how many flavours you are using.
- In between the 1st and second layer of ice cream, you can add in crushed chocolate wafers, waffle or sugar cones, or graham crackers. For 2 layers of crumbs put 24 chocolate wafers in a plastic bag and crush them with a wooden rolling pin by banging and rolling over them. You may create some holes in the bag so be careful picking the bag up. You will need about 1 cup total of crumbs.

- Sprinkle and gently press the crumbs into the 1st layer of ice cream. If you did not add the whipped topping at the top, you can add it in here.
- If the topping is very soft you may need to put the ice cream cake in the freezer for an hour or so before continuing. Put all the ice cream away until you are ready to start again.
- For the next layer, we usually do a richer layer here like chocolate. Use 1/2 a pint of ice cream and then a layer of frozen fruit.
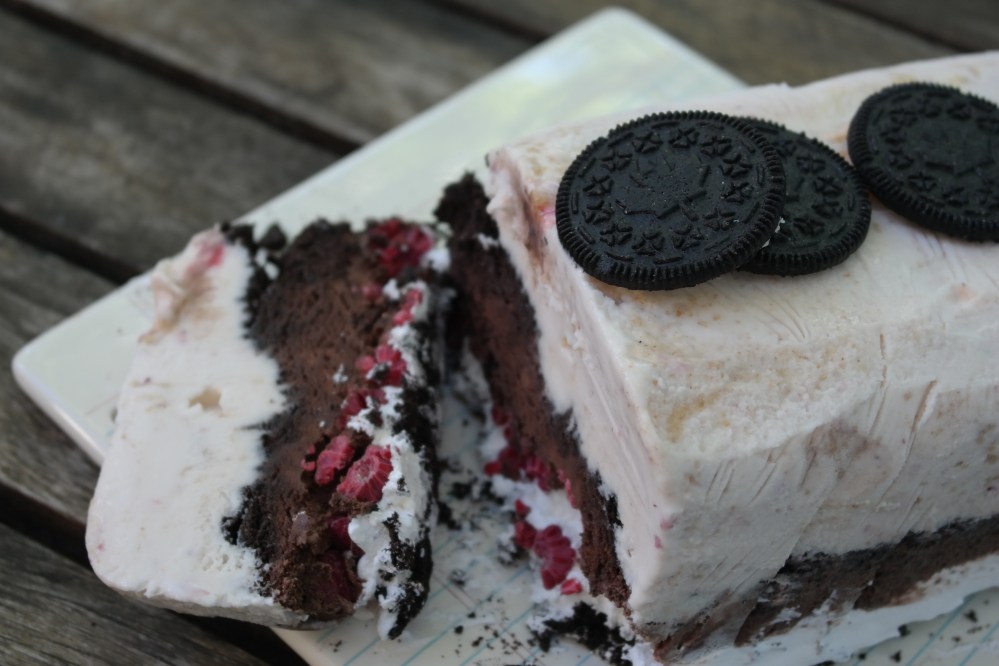
 Use frozen raspberries here. They keep their shape better.
 Slightly tart raspberries contrast beautifully with the rich chocolate ice cream.
 - Add the final layer of ice cream to the loaf pan. Cover the pan with plastic wrap and then let the ice cream cake set in the freezer, ideally overnight but at least 3-4 hours.
- To unmold the ice cream cake, turn the loaf pan upside down, wet a kitchen towel with cold water and gently wipe all the sides of the loaf pan, pulling on the wax paper or plastic wrap as you do so. Once the cake begins to release, find your platter and release it onto the platter. You can decorate the top of the cake with cookies, sprinkles, or candy.
- Top the cake with some sparklers for a last summer hurrah and serve!

Useful tools:
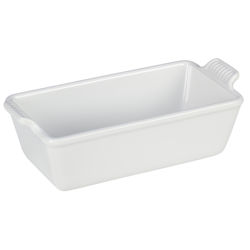
Heritage 1.5 Qt. Loaf Pan
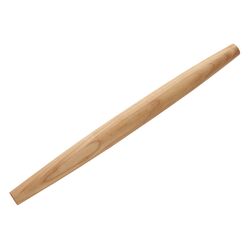
Gourmet Cherrywood Rolling Pin
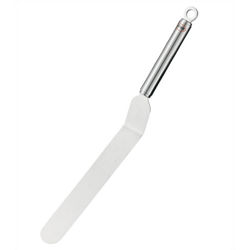
Angled Palette Spatula
See More Shop All Cooking Utensils
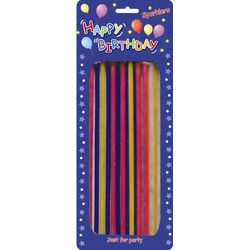
Birthday Sparkler Candles